Showing posts with label home improvement. Show all posts

Tuesday, January 24, 2006

Cookie Cat in Heat after surgery!

You would think that after living mostly in our basement for 6 months that a cat would figure out everything there is about its environment. Well, don't be so sure!

Here is some fantastic and incredible news! About one month after my cat went through surgery to be spayed, she was still able to go into heat!

Yes, I know it is incredible, but it is 100% true... from a certain point of view.

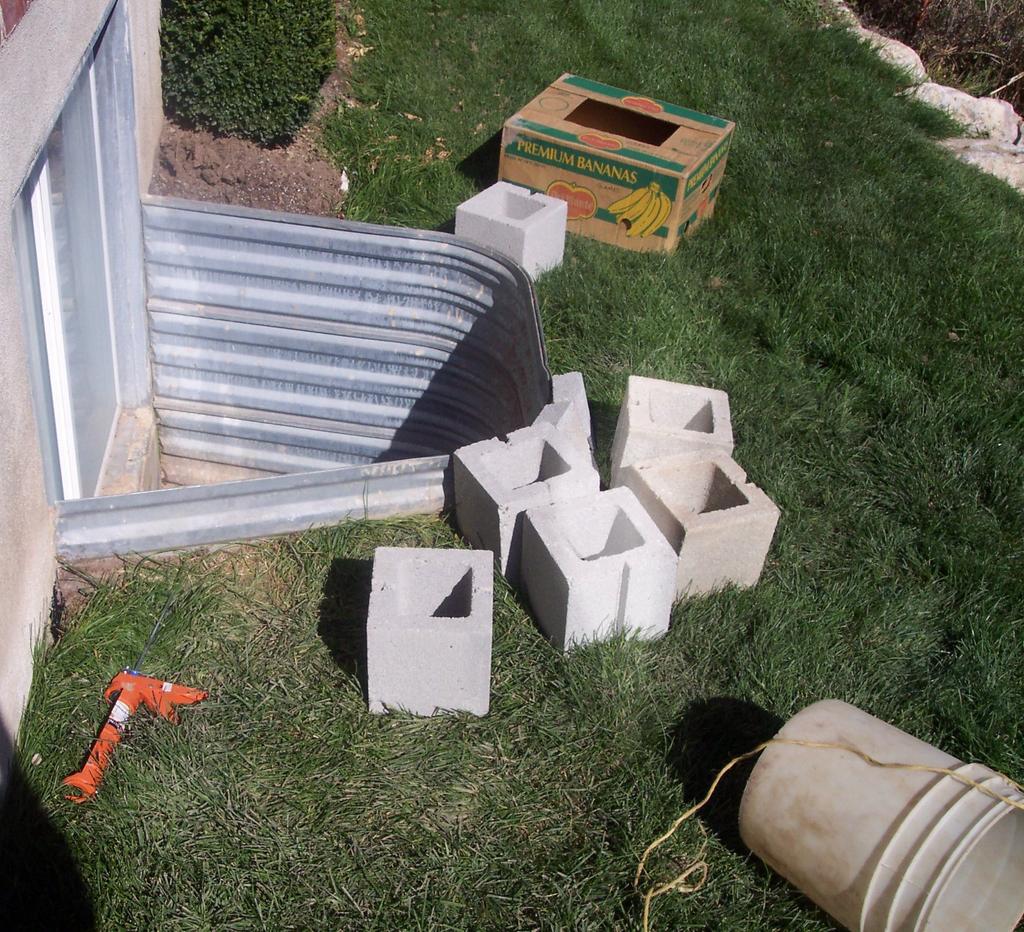
I recently cleaned up all my Star Wars boxes in the basement and piled them up in a corner of our storage room. A few days later we heard some noises that we thought were coming from a neighbors house. It sounded like someone was banging something so my wife and I was curious to know what was going on.

I walked around various locations in the house looking out windows and couldn't see anything outside. I continued hearing the noise from time to time and couldn't figure out where it was coming from. Then I ventured outside to see if I could hear it. I could hear it very faintly inside of the garage, and that didn't make as much sense to me. I went out on the back porch and I couldn't hear it anymore, so I figured the neighbors had stopped. I went back inside and asked Michelle if she had heard it while I was out there... and she said it had been loud!

OK. Something was inside the house. I had also been downstairs lately and called Cookie but I went down into the basement and heard some more noise, but she hadn't come to me. That didn't surprise me, she sometimes hides out in strange places and goes to sleep. But now that I realized the sound was from inside the house AND that I hadn't seen Cookie lately, I ran downstairs and started looking for ways that the cat might have gotten into the heat vents. I just couldn't find any possible way. It didn't make sense.

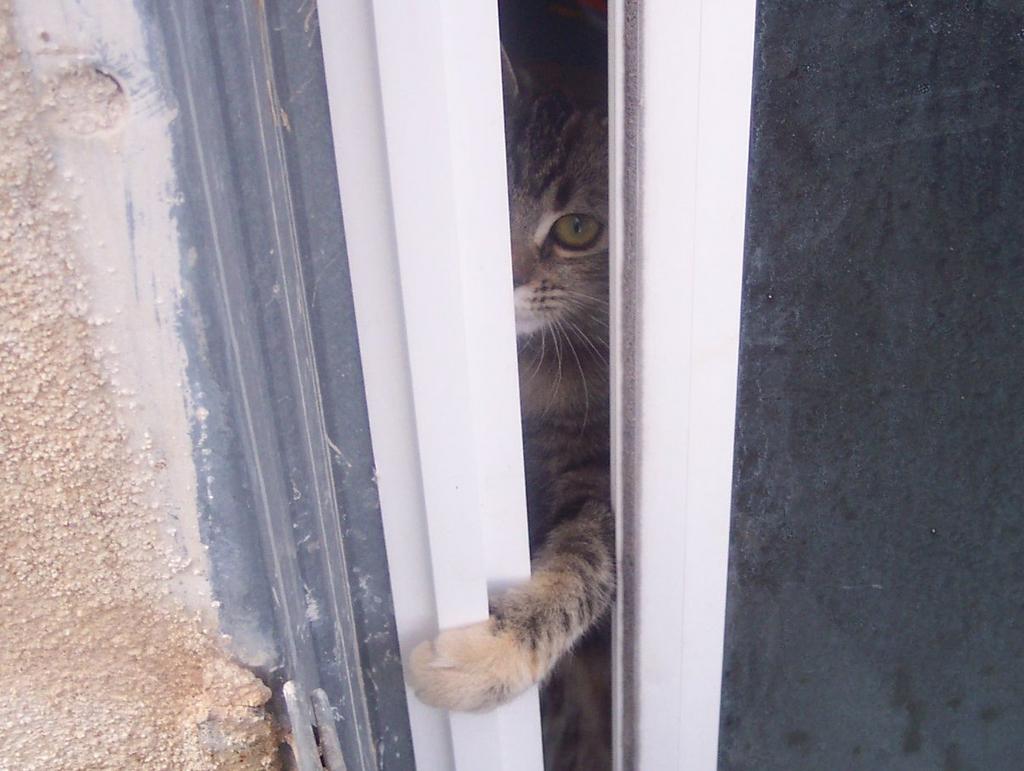
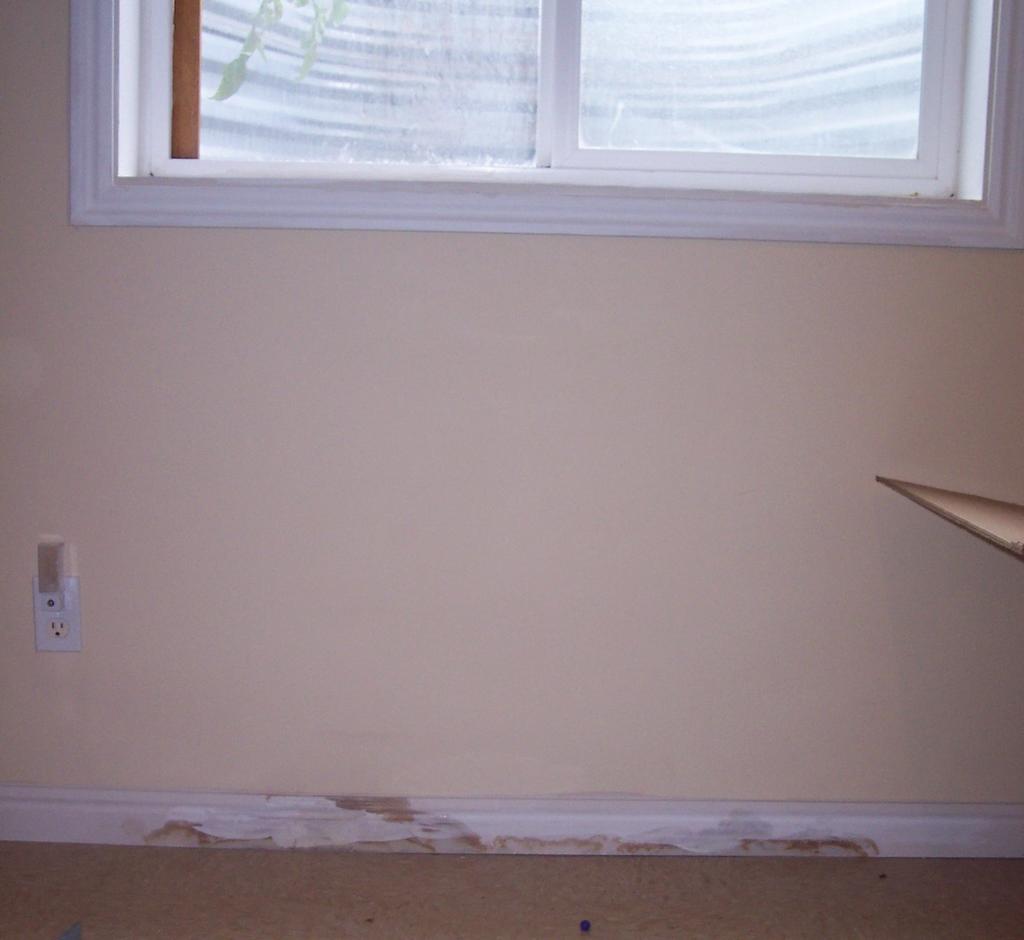
Sense or no sense, soon our cat was at one of the upstairs heating vents. We pulled the cover out and she just sat in there for a little while. We weren't sure if she was stuck or not. Michelle thought she didn't want to come out because of a screw sticking out the side that might hurt her if she came out. I felt down inside and figured she was just scared of coming out because we don't usually let her come upstairs, and sometimes when she sneaks past us through the door to the stairs, we chase her and catch her to put her back down. So I played like I wanted her to come out and she soon did. She was pretty dusty and had some sawdust on her. Looks like the vents haven't been cleaned since the house was built... well I guess one line of the vents has now!

I still couldn't figure out how Cookie got in the heat vent. There aren't any possible vents that are open, or even within reach that she could have gotten into in the basement. Our 2-year-old had been down there playing with the cat and I thought that maybe he had done something to put her in there... like by putting her through the furnace! However, he knows not to go in the furnace room, and the door is somewhat child-proof, and the cover to the furnace is not the easiest thing to open. I kind of ruled that out. I thought that maybe the cat had went down through one of the vents upstairs when it was loose.

After putting Cookie downstairs and going away for an hour, I came back and started to hear the noise again! OK. How in the world did she get in there? I ran downstairs into 'her' room (the storage/furnace room). I quickly made noises as if I was going to feed the cat. That usually gets her running. Soon I saw her head poking out up on a wall above my office which is next door. The kids and Michelle were upstairs trying to coax her to the vent again, while I was trying to yell to them that I had found her. Eventually, I got her down.

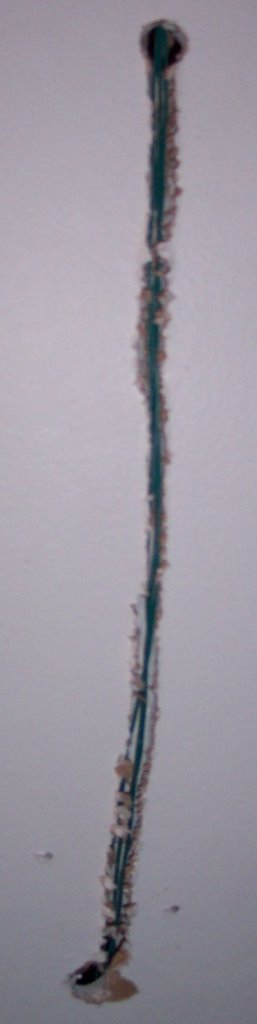
She had jumped up on the boxes I had moved there a few days before and then up into the wall. I still don't know why there is access into the heating vent from up in that wall. It sounds like a horrible waste of energy to be heating the inside of my walls. I'm guessing that the former owner of the house who finished the basement didn't quite get that part right. So yeah! More remodeling (and money) for me later.

At least there was also a bunch of odd sized wood pieces left over from the previous owner as well, and so I stuck them up in the wall to prevent access to a kitty. We haven't had any problems in the last 4 days since I did that.

So there you go - cats can still go into heat even after being spayed.

Tuesday, November 15, 2005

Well, Hang it all!

With the help of my Dad, we found a way that was simple enough to get the new doorbell wiring down into the basement. Really, I just had to take the wire straight down inside of the wall, but the problem was going to be drilling down through floor joists and stair supports. I didn't have a drill bit that was long enough for that.

Since we are talking about low-voltage wire for the doorbell, and not the normal 120/240V stuff, we decided instead to just make a small hole above and below each board we were going to drill through, and instead just make a trench between the two holes. Then the wire could come out of the wall from the top hole hole, sit in the bottom of the trench and go back into the wall in the bottom hole. Patching up the sheetrock trench will be easier and stronger than patching a large hole in the sheetrock.

Here is a good example to know what I'm talking about:


Here is the longest trench I had to make. This is at the level of the ceiling/floor between above the basement. There was board behind this hole that made us have to make a very long trench. I think it would have been almost impossible to drill a hole through that and fish the wires through it.


So now the problem is that we decided to move over our front entry mirror so that it is more centered between a door and the wall. It was simple enough to measure and eyeball where the center should be, but I should have measured where each sheetrock screw should go because I had one side too low, then I spackled the hole and waited around 24 hours, then I used a level and thought I was drilling a hole that would be just right, but I made a hole that was too high, and had to fill it in with spackle as well. Hopefully today I can make a hole in just the right spot.

After that I'll paint over my spackle and hopefully our front entry will look like nothing ever happened. Michelle will be very happy to have the 'pardon our dust' look gone.

Thursday, November 10, 2005

Holey walls Batman! Ding-donging extra doorbell!

My home-office is in our basement. We only have one doorbell, very near the front door where it can be heard fairly well throughout the whole house, except maybe in the outer reaches of the basement. Thus, I miss the doorbell if someone ever comes over, which is a problem if no-one else is home at the time.

So, I resolved to put an additional doorbell in the basement close to my office. I thought I already had a doorbell, which was the main reason I wanted to put one in, but I may have given it away when we moved. So, I went and bought a cheap $7.00 doorbell at The Home Depot.

I searched all over in the basement for where the transformer may be hidden for the doorbell, but I think the previous owner covered it up with sheetrock and paint. (If I had finished the basement, I would have pre-ran the wires for a second doorbell and various other things.) I took off the cover of our chime-box and hooked up my new doorbell in parallel with the existing doorbell. I tried the front and back bells, and they both chime on both chime-boxes, so the transformer must be powerful enough.

Now the trick is to run the wires through the wall down to the location of the second chime box. I have an advantage and disadvantage built into one with the existing chime box being on the wall next to our stairs. Since the basement stairs have a door under them with unfinished walls inside of it, it will be easy for me to run the wire from where the wires come down from above to the wall location where I want to put the new chime box. This might be easier though because the stairs also require more boards to be in the walls right there, which means I have to drill holes through the boards to put the wires through.

In order to drill holes through the boards, I'll need to drill or cut access holes in the sheetrock walls. That means 3 - 4 holes. Luckily I already have spackel, wire mesh and the right paint to patch the holes. It is still a bit of guess work though to figure out where all the holes should go. I've been knocking on walls and measuring rather than using a studfinder. That is a bit tricky when you are going down stairs.

I may ask my dad to come help me out.

Sunday, October 16, 2005

Glimpsing into the window well of my soul

What do you do when you want a professional job done right? Just check off that you have all of the following:
  1. The right tools for the job
  2. A clean work area
  3. Professional help
So, of course, if I want to make sure that my window well won't leak water anymore, I should get the job done by following those three tenets of quality work.

The right tools:

A clean work area:

Professional help:


So since, I had all of those important aspects of the project covered, I couldn't fail right? That depends on what you expected as the outcome.

I had two goals when I dug the window well 18 inches down next to the foundation:
  1. Stop the leak into the basement by giving the window well deeper drainage. (Thus the 18 inches of additional dirt taken out.
  2. Stop the leak into the basement by allowing me to pump out the water if I have to, or even stick a bucket down and heave it out if it comes to that!
As you can see, my main goal is to stop the leak:

So I dug the window down (with a lot of help from my Dad):

Dug it out a lot more (sorry no photo at this stage.
Started the base of my pump hole with cinder blocks and filled around it with gravel instead of dirt There are two more cinder blocks hidden from view under the pile at this stage, so that is about 2 ft down next to the foundation line:

Tested for leaks for about an hour before filling it up more:

Then I laid bricks down in a way that I hoped would allow good drainage down below the foundation:

After waiting another while to see if any water would leak in, I added more cinder blocks and more gravel:

The total height of the cinder blocks is 4 feet. I need to add some more gravel, but I'll have to buy some since that's all I have! The dirt I took out of the bottom made it quite a bit deeper.

Well, after all that, the lawn man came and fertilized the lawn. He asked me to water in the application, so I turned the water on the next morning even though I had decided not to waste any more water on our lawn this year.

So what was the result? It leaked some more.

At least I have option B still. I can pump, siphon or draw water out whenever I want. I've built my own well! That's a side benefit I didn't even think about. Wow, man.

Friday, October 14, 2005

Potatoes in the disposal

If you are like me, you may have been raised to help peel the potatoes at dinner time. If that is true, the same concept was probably applied to snapping beans, shucking corn and de-bunching grapes. If you don't understand what I'm talking about, well, you missed out on a big part of childhood.

Although I could go into more detail now about those experiences, I merely brought up peeling potatoes because whenever I was young and peeled potatoes, I always peeled them into the sink disposal, and then turned it on and pushed them down. I never had a problem with a clogged sink in my life because of potato peels.

Apparently, it is a de facto standard known to plummers everywhere and common knowledge that you should NOT put potatoes peels into the disposal. They can easily clog the drain. Is this some kind of new development because of the evolution of sink drains now-a-days? The peels hit a wall in the connector that directs the water downward instead of up, which is where they clogged against - maybe that is the technology that has changed over the years. Or maybe I was just lucky all those years (and I think my parents still put the potato peels down the disposal at home) to never have a single clog. In fact, I don't remember my dad ever having to unplug the kitchen sink. I definitely remember unplugging toilets, bathroom sinks and showers (I have 5 sisters whose hair is the culprit,) so maybe I just wasn't involved to remember the kitchen sink ordeals, if there ever was one.

I've had the kitchen sink clog on me twice because of big potato peels. I don't think the problem was normal potatoes. Maybe that is why my parents' sink never clogged. Little potatoes have smaller peels, and small doesn't get stuck. But big potatoes, like yams or sweet potatoes - I've had them clog up two different kitchen sinks.

So what is the trick if you want to remember something? Write it down. Or type it. I'm hoping I'm around whenever my wife wants to peel potatoes into the sink, because after this, and after having to use the plunger to no avail, and then unscrewing all the pipes under the sink and finding the pipe going from the disposal to the u-bend full of peels, and having to put it all back together again - I should remember next time. DO NOT PUT POTATO PEELS IN YOUR DISPOSAL!

The unclogging took me long enough that by the time we put the kids to bed I was too tired to try and rehang my bedroom mirror. It is about 6 feet wide and weighs 35 pounds. Nothing a toggle bolt on one side and a stud on the other shouldn't be able to handle, but I was tired out. Really, I sure staying up last night 'til midnight did that. I was helping program a shopping cart for someone.

So I'll probably hang the mirror tonight and finish the window well on Saturday. At least I haven't had any water in the basement since I dug the hole down a foot and a half next to the foundation. More exciting projects to come!